Share
Pin
Tweet
Send
Share
Send

When working with emery, there is always a lack of light. I close the garage light with my body and a shadow appears on the workpiece. Originally used a carry, even used a headlamp. Nevertheless, I decided to facilitate the task and make constant lighting. I looked at the ready-made solution. And, as always, he settled on a version of his own manufacture. In the role of a reflector, I thought to apply simply a sheet of aluminum. He came to the conclusion that directional light was needed. So I will collect something similar to a searchlight.
Putting a powerful spotlight for the workshop
And so, the reflector will be very simple. At home, a fair amount of cases from the computer's power supply was littered. Having folded two halves, it turns out such a reflector.

I will screw the halves of the cases to the case of the computer power supply. The power supply board will be placed in the PSU case.

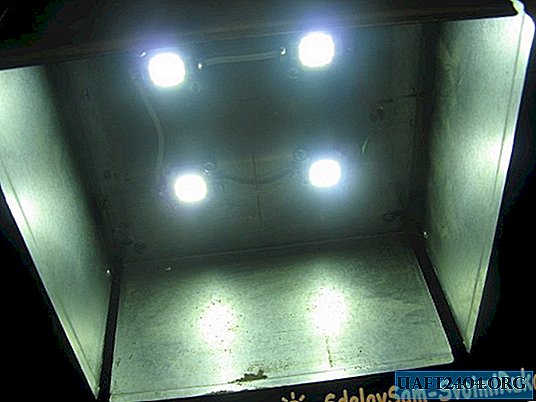
The main element of the lighting device, of course, will be the LEDs. I took four 10-watt LEDs. Supply voltage of each 12 Volts.

The main element, not the only one, will be the power supply board. I removed this board from an old inkjet printer or scanner, I don’t remember anymore. The output voltages of the power supply are two, 42 Volts and 5 Volts. From 42 Volts I will power the LEDs by turning them on in series. From 5 Volts I will power the fan, which is installed on the case of the used power supply.

I will replace the installed power switch with a toggle switch.

First you need to mark the holes for the LEDs. I still applied an aluminum sheet. Marked and drilled holes. I also made a series of holes with which I fastened both covers and the plate to each other.

By connecting the LEDs in series, I did not use a current limiting resistor. Since the voltage is 42 Volts, the current is correspondingly lower. I had 0.5 Amperes. The voltage is well stabilized and does not walk.

I soldered the wires from the power supply board, having previously removed the switch and connector. Red and green at 42 Volts, plus and minus respectively. Thin wires to the fan. From 5 Volts, the fan will spin slowly and without making noise. I think that there will be enough air flow. On the computer’s PSU, the board was connected using the connector, the same connector is on my power supply board.

I will screw the power supply circuit board onto plastic, since the native openings of the computer's power supply unit have a long distance. Plastic according to the size of the removed BP board. Marked and drilled holes.

I screw the plastic in the case. I screw the power supply board to the plate. Just set the toggle switch. I soldered wires to the place of the old switch.

Solder the wires to the toggle switch.

I twist the case. Turn on and check. Everything works great. Of course, you could use a full-fledged computer power supply. I had on hand a board from old office equipment that I would not use anywhere.
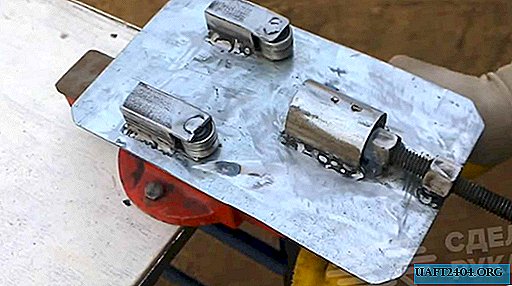
Here's a floodlight turned out. I will probably mount it on neodymium magnets from an old hard drive. Above the emery is where to attach it. Magnets add mobility to the spotlight, you can still attach it anywhere.
Share
Pin
Tweet
Send
Share
Send