Share
Pin
Tweet
Send
Share
Send
Kite is the first aircraft invented by man. Its launch and flight is able to unite people of all ages and give a sea of impressions and joy. In childhood, most of us made a kite from improvised means and in this article we will show how to make a simple kite with our own hands from a bag, sticks and thread. The process of creating this model of snake will take about half an hour. At the exit, we get a very simple and lightweight snake design, which even with a light wind quickly and confidently gains height.
Will need
We will need:
- - The usual package;
- -Two sticks (we used dry sticks of reeds);
- - Thread with needles;
- -Scissors.
Making a kite from a bag

Near almost every body of water or lake, you can find common reed or it is also called reed. Take a few even sticks of dry reeds. They are very light and strong enough for the snake to fit perfectly.
We take the usual package from the store, any package will do. The size of the kite will depend on the size of the package. You can also use just plastic wrap.

And cut the bottom and one side of the package.

Then bend the whole side by about 1/3 of the package.

After bending, cut off the excess, start cutting from above in a conditional line to the edge of the cut side of the packet, and then from the edge down to the tail of the snake.

We apply a stick or ruler at an angle of 90 degrees from the tip of the wing to the base, and cut off the excess as in the picture.

In the resulting form, gently stitch the pockets for the snake ridge along the line, leaving a place at the beginning so that you can install the wand.

From the handle of the bag we make 3 rectangular pieces, about 5-6 cm long. We need them to strengthen the snake in the right places.

Sew the first rectangle at the bottom of the snake as in the picture. This is the place where the thread is attached to keep the snake in the air.

Sew the other two segments on the edges of the “P” wings - figuratively, a stick will be installed here to hold the wings open.

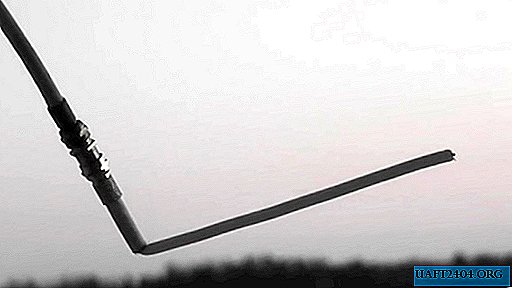
We select the stick of the desired length and balance it and tie a small weight in the form of a stick on the thin side, hold the stick in the middle and move the weight so that the stick is held even, not leaning to the sides.

After balancing, we put in place a stick for the wings.

We also install the central stick in a stitched pocket.

We flash the upper part of the snake so that the stick does not fly out of its place.

From the remnants of the package we cut strips with a thickness of 1 cm to your taste. We’ll make a snake’s tail from them, and you can also make a tail out of a ribbon as you wish.

Sewed strips, sew together with a thread, and sew to the bottom of the kite. Take the length at your discretion, I attached the tail at a distance of about 10 cm.

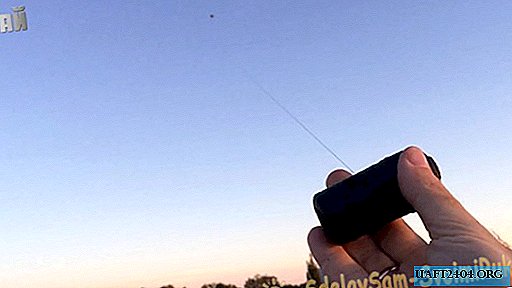
We tie the thread to its place, our snake is ready to fly.

But you have to wait a little breeze, the snake is easy to assemble, it takes up little space and weighs only 24 grams. If desired, you can use a paper cylinder from a kitchen foil or cling film as a box for a snake. He fits perfectly there.

Conclusion
The snake showed itself perfectly when taking off in a small wind, it gains height well, turning into a shallow point in the sky. This craft is easy to do with your children and fun to fly a snake into the sky. Remember that the launch of the kite must be done in an open area away from trees and electric wires. If you make a larger kite, you can launch a video camera into the sky and look at yourself, as well as the surrounding landscape from a bird's eye view.
Video
Watch the video with the process of manufacturing and testing a kite.
Share
Pin
Tweet
Send
Share
Send