Share
Pin
Tweet
Send
Share
Send
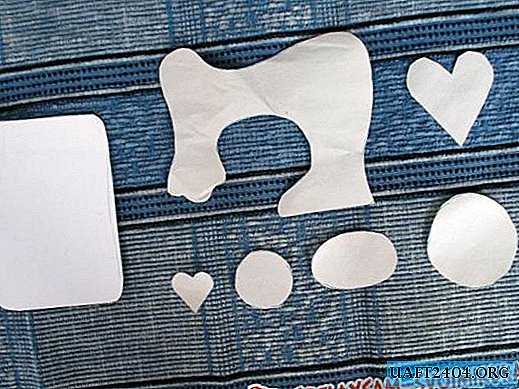
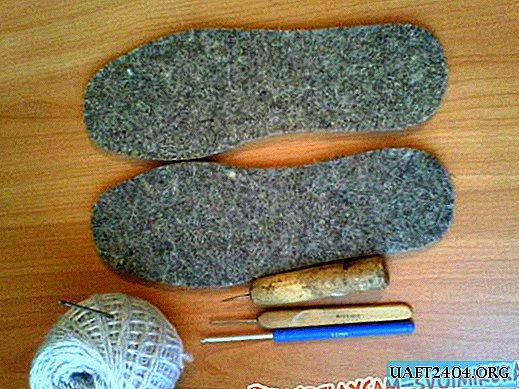
The pattern can be enlarged by you to any size, but I propose to make the base of a foam sponge, it is small. So, cut out the paper parts. The dimensions of the sides of the rectangle that we cut out of cardboard coincide in shape with the sponge taken.

We cut the details from the fabric into paper patterns, leaving a small margin for seams everywhere, and leaving a little more for the cardboard pattern. We make the fabric for wrapping the sponge even with large reserves so that we can wrap it and tuck the fabric on the back side.
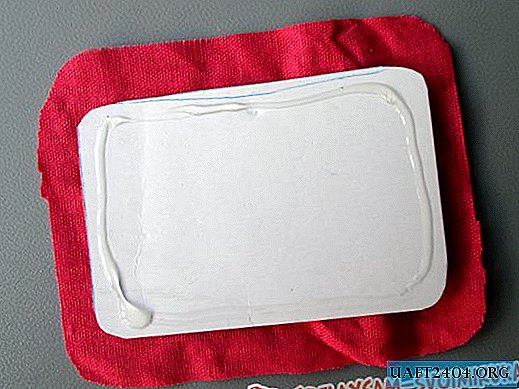
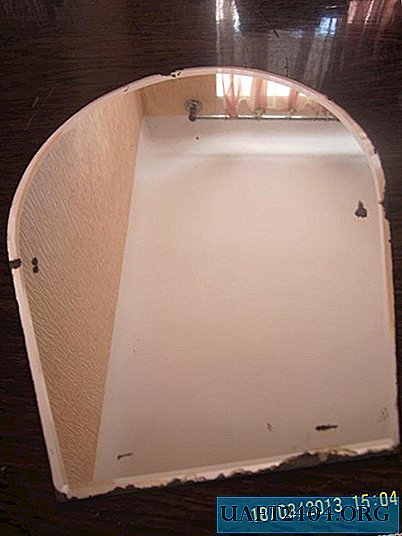
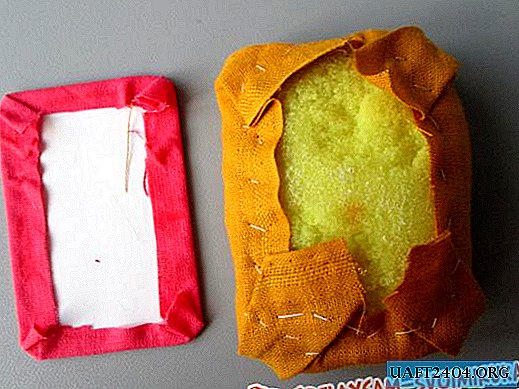
We put the cardboard part in the center, draw glue along its contour.
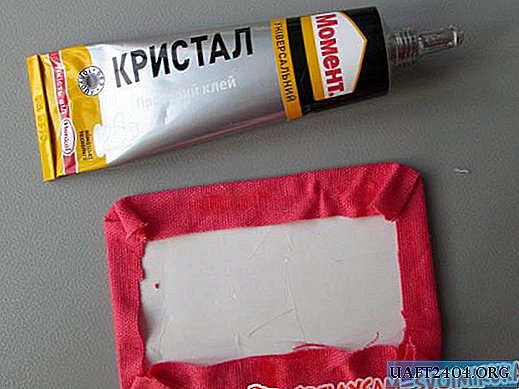
We use the moment "Crystal". The glue is good because it does not dry so quickly, but it perfectly fixes the material. We twist the edges onto the adhesive strips and press them with your fingers or a spatula (for anyone it is convenient). Leave to dry, you can press down the load for reliability.
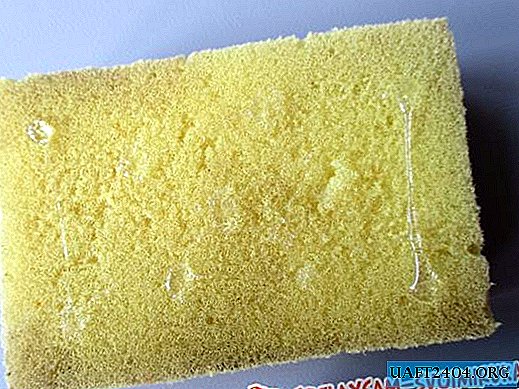
Take a sponge - it's nothing that it’s old. Apply glue to one of the surfaces.

We put material on it, on the reverse side we fix it with pins. If you do not fix it, then it will be difficult to sew it to the sponge.

Tightly fix the threads of the fabric to the foam. A little difficult, but not difficult.
We add these two parts to each other.

And sew over the edge. It is possible with a hidden seam, in the finished product it will be completely invisible, because we will decorate the side.
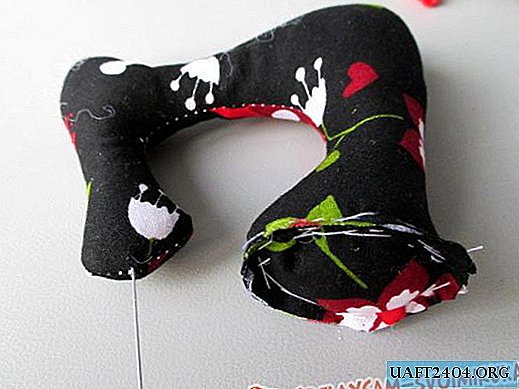
Attach the details of the machine. Filling the tip slightly, insert the safety pin into it. It will serve as a second support for the needle bed, and bring its appearance closer to a real sewing machine. We continue to fill the product with holofiber or synthetic winterizer, preferably very tightly. We close the wide hole with a cut oval and sew it in using the backward seam.
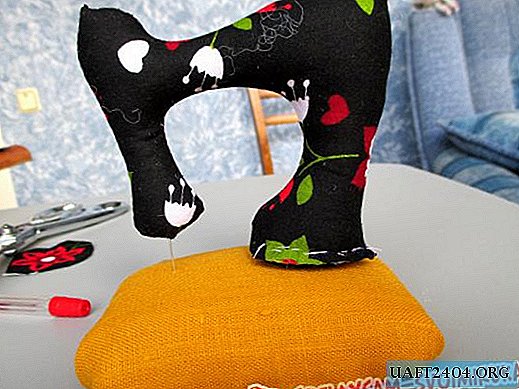
We determine the location of the machine body on the stand and fix it with pins. Put the workpiece aside.

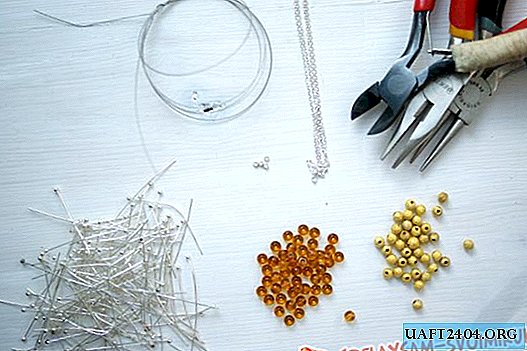
We take everything from our storerooms for decoration - satin ribbons, buttons, beads, various braid, a piece of wire, whatever you see fit. It is necessary to make a wheel for a typewriter. To do this, take a pattern of a circle of larger diameter, collect along the edge of the thread. Inside, put a piece of padding polyester and tighten in such a way as to make a wheel. Sew a button in the middle.
To form the pin on which the spool of thread rests, take a bead, thread a thin wire through the hole. Then you combine the ends of the wire, the bead remains in the center and twist in one direction. Do the same with the second wire and bead. Pass the ends of the wire into the button hole, make a few more turns under it and push it through the fabric into the machine. Then sew the button.

On one pin, put on a small spool of thread, glue hearts for beauty. Wrap the sidewall of the stand with tape and glue it. It can also be sewn with a blind stitch.
A small needle bar is made like a wheel, only a smaller cut circle is used. Until the end we do not tighten the thread to get the bottom. We glue the part on the stand for the machine and decorate it around with braid.
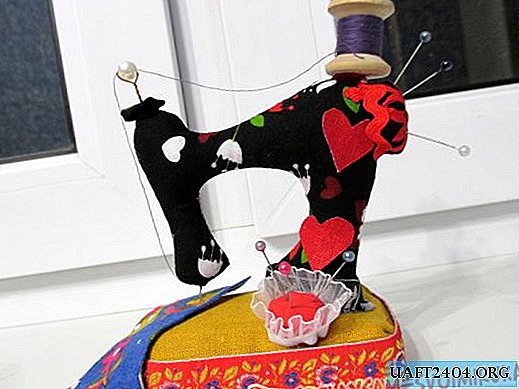
Under the "foot" of the machine we put a piece of fabric, simulating the fabric to be sewn. It can be decorated with applique, lace or machine stitching. Everything, our needle bar is ready. You can safely exploit it.
Share
Pin
Tweet
Send
Share
Send