Share
Pin
Tweet
Send
Share
Send
Recently, anti-gravity cars that drive along the walls and ceiling have become quite popular. This is a rather interesting and unusual toy, working on the principle of a vacuum cleaner, which sucks air from under the car. In this article we will talk about the experiment, how we made a similar machine at home from improvised means.
We will need
- - Corrugated cardboard;
- - Motor (preferably high-speed);
- - 2 micromotors with gear;
- - unnecessary USB wires;
- - tact buttons;
- - AAA batteries and Li-ion batteries from the phone;
- - soldering iron, glue, etc.,
We make a machine that rides on the ceiling

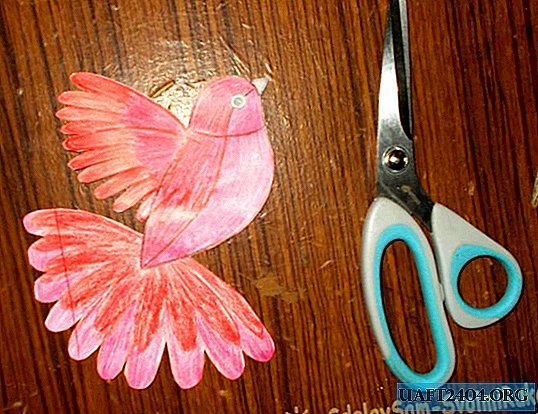
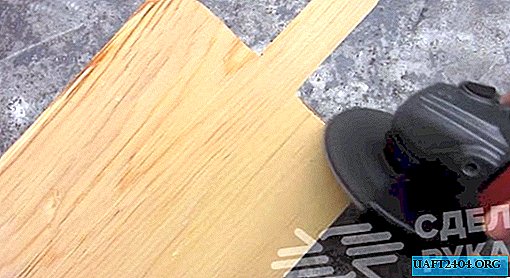
The first step in making a typewriter in cardboard is to make cuts as in the picture. Using the ruler, we make straight bends and cut the cardboard in the marked places.

We lift the slightly cut part and glue the small sides on the sides.

Cut two small rectangles rounded on one side and glue on top.

Next, we make two small strips of plain paper and glue on the bottom of the machine, at the corners of the strip we cut so as not to cling to irregularities. The future frame is ready.

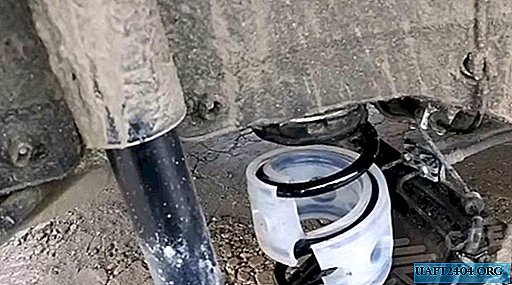
From a disk or similar plastic we cut a round billet, the size of a 2-ruble coin and 4 blades 5x5mm. It is not necessary to make a turbine of large sizes, and there are many blades on the turbine (optimally 3 to 4 blades). Tests showed that a large turbine rotates more slowly due to a larger intake of air, and the engine heats up 10 times more, and the retention effect is reduced by several times.

Glue the blades with super glue to the circle as in the picture.

In order to prevent the blades from scattering by centrifugal force, we wind them with a thread and impregnate them with superglue.

From the lid we make the detail as in the picture.

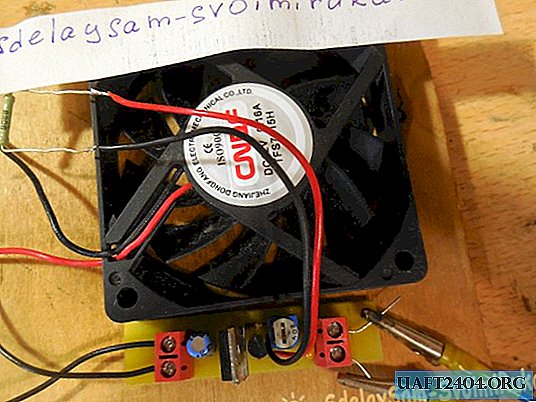
Apply glue to the cover and glue the engine of the future turbine.

We install the engine on the frame of the machine and glue the turbine on the motor axis.

We make wheels out of the ordinary cap. We put on a small elastic band for better grip and cut off the excess part of the cap.

We take two small motors with a gearbox (in our case from a Syma x5 quadcopter), you can also use micro servo like MG-90 and similar motors with gearbox. It is important that they are small, to save the weight of the machine.

We bite the protruding leg near the gear and glue the wheel from the cap with hot glue to the gear, make two such wheels.

We attach engines with wheels to the body, it turned out as in the photo.

Due to the weight of the battery, I had to abandon the control of the machine using a television remote control and Arduino. Let's do wired management.

We will do control with the help of tact buttons according to this scheme. The advantages of such a scheme is that you can use simple clock buttons for control, and 3 control wires are enough to control two engines. And the disadvantage is that you need 2 batteries and when moving in one direction, 2 engines are powered by one element, which reduces power. And we separately power the turbine engine from 2 series-connected lithium-ion batteries.

For convenience, on the basis of the remote control, we put the circuit in a convenient form, we will assemble it by wall mounting.

We attach the clock buttons to the remote control, install two batteries, select and solder the wires of the desired size.

After soldering with a multimeter, we check the remote control for operability.

For the turbine from below, on the remote control we glue two batteries connected in series, and for convenience we attach the start button on the edge of the remote control (the start button should be fixed).

We take the old USB wire, remove the insulation to lighten the weight of the wire.

3 wires are soldered to the output on the remote, and on the other hand, soldered to engines with wheels.

We also solder 2 wires for the turbine on the remote control and similarly to the engine with the turbine.

We check that the machine is working. Let's move on to the tests.
Conclusion
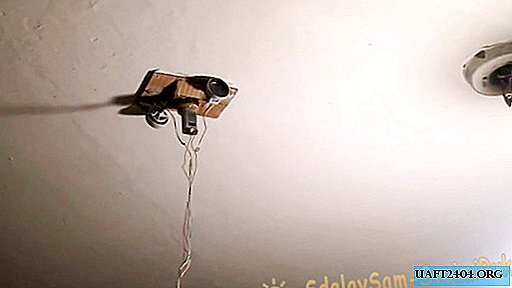
The machine works, but this is the first prototype and it has several disadvantages that are still worth finalizing. Unfortunately, it was not possible to make the remote control from the remote control as intended, the machine fell due to the large weight of the batteries, it also became clear during the test that the gears from the quadrocopter are weak, and it is better to use a gearbox with a large gear ratio. Well for these purposes, a small modified engine with a reducer from the MG-90 servo drive is suitable. The toy turned out to be very unusual, and noisy, it keeps easily on the ceiling, you can ride on the ceiling with pleasure, winding circles. If you have ideas on how to improve this model, let me know by leaving comments ...
The most interesting of course in the video. Here you will clearly see how the machine nimble along the ceiling of the apartment.
Share
Pin
Tweet
Send
Share
Send