Share
Pin
Tweet
Send
Share
Send
We offer to return to the world of childhood and again plunge into the magical world of origami. This time we’ll do something unusual: the choice fell on the bottle. Yes, yes, a paper bottle will turn out of the sheet, which, according to the majority, can only be made of glass or ceramic. Surprise the world ?!
Like many other crafts, the bottle will be born from a square sheet. We will prepare a sheet for further work, for which we will make several auxiliary bends. Attention - not all bends should be made to the entire length or width of the sheet. Otherwise, the work will be angular with distorted shapes. Horizontally fold the sheet in half and only outline the inflection line to the right. Return the sheet to its original position. In a similar way, folding the lower part up, divide the right lower half of the sheet edge in half. Repeat the folding procedure so that the edge of the sheet is divided into eight equal segments.
We fold the strip one-eighth of the width of the sheet up, and carefully iron along the inflection line. Fold the top of the sheet down so that the edges of the sheet are connected. Straighten the workpiece. Fold the upper half of the sheet horizontally in half, this will help us the very first mark on the right edge, made by bending the whole sheet.

Straighten the workpiece. By alternately folding the sheet in half vertically, divide the bottom strip into eight equal parts. And then we will divide each of them in half, marking with cents the risks of each of the eight parts. Focusing on the risks made and the inflection line of the lower band, we bend back the right lower corner.

All adjacent elements of the lower strip are folded in pairs so that a convex diagonal fold is formed, and the middle risks coincided with the addition.

Starting from the folded corner of the sheet, we sequentially add the entire lower part along the obtained inflection lines. Get the bottom. The paper bottle is already starting to take on a familiar shape.

Straighten the paper blank to its original shape. We arrange the sheet so that the inflection line, dividing it in half, is vertical. We will work with the left half of the sheet. Consistently folding the sheet in half horizontally, and then dividing the resulting parts into halves, we arrive at the desired result - we divide the left half of the workpiece into thirty-two equal horizontal parts. We pay attention to the fact that the bends are ironed only to the center vertical line.

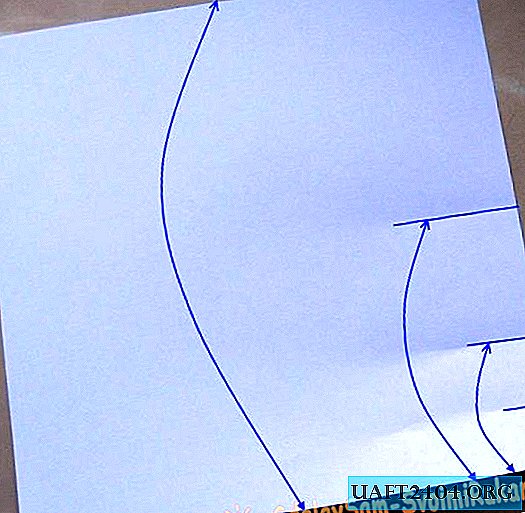
Next, we move on to the most crucial stage - the addition of the neck of the bottle. In this part of the work you need to be extremely careful. Applying a concave fold, we put the fourth strip on top of the third. Bend the right side of the sheet back. Based on the figure, we will make a zigzag fold, while part of the third strip will open slightly, and the sheet will vertically bend twice in different directions. We continue to fold the strips in pairs, gradually forming the neck.

If everything is done correctly, then the bottle has got an elegant neck. It remains only to consolidate the additions made. To do this, bend a narrow strip outward in the upper part of the neck.

Using the previously indicated method, we will form the bottom of our vessel.

The wonderful art of origami miraculously transformed an ordinary sheet into a bulky paper bottle.
Watch the video how to make a bottle of paper
Share
Pin
Tweet
Send
Share
Send