Share
Pin
Tweet
Send
Share
Send
So, for tailoring the cover we take:
• Binding cardboard two sheets of 19 * 26 cm;
• Sintepon;
• Fabric 100% cotton in two colors with stars, one fabric on a blue background, and the second on a gray-blue;
• Paper for scrapbooking from a children's set, two sheets 30 * 30 cm;
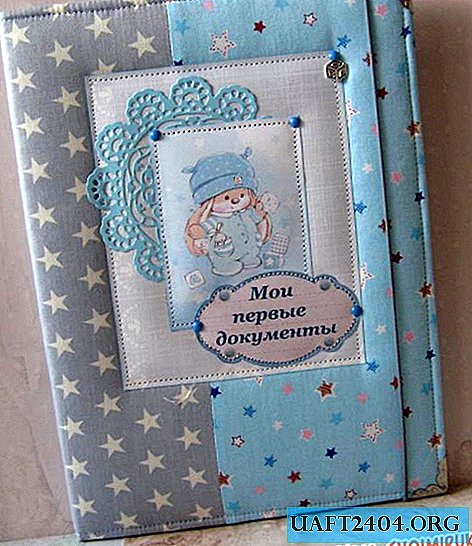
• Printed card "My first documents";
• Napkin carved blue;
• The picture with the bunny Mi in blue;
• Metal corners in silver, 4 pcs;
• Metal suspension cubes;
• Brads metal blue;
• Gum thin hat gray;
• Salad grommets and grommet installer;
• Cut down flags of blue color;
• Strip of white cardboard;
• Glue stick, double-sided tape;
• Adhesive tape effect;
• Curb hole punch;
• Scissors, a simple pencil, an ink pad for tinting paper and a ruler.

So, first we need to make a hard cover. To do this, we need to connect two sheets of binding cardboard with a white strip.


We cut off a strip of white cardboard 6.5 * 26 cm. Divide this strip into three parts, respectively 3 cm * 0.5 cm and 3 cm. Now, under the ruler, draw two bending lines.


Using a glue stick, glue this strip on both sides of the cardboard, thus connecting the cover into a single whole.


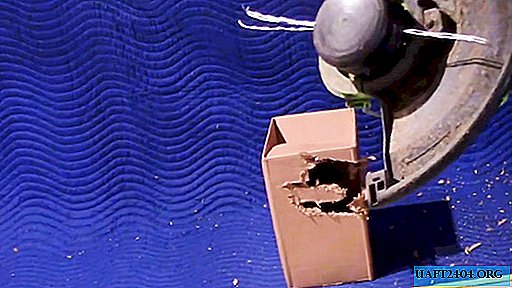
Now we draw lines with scissors so that the cover closes well. Cut the synthetic winterizer onto an open cover.


Glue the strips of double-sided tape and glue the synthetic winterizer.


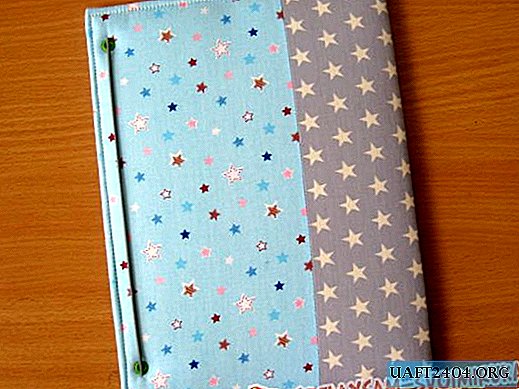
We have softened the cover, now we take the fabric and cut three pieces. Immediately make reserves for cutting, so that later the fabric is tucked.


Iron the fabric and sew pieces together. Now we lay it out and put the binding base with syntepon down. We smear the edges with glue stick, wrap the fabric and glue it, carefully wrap the corners.


This is what our preform, covered in fabric, looks like beforehand.


Now we cut out a strip of 6.5 * 25.5 cm from scrapbook paper and glue it on top of a white cardboard.


Now we need to arrange the cover inside.


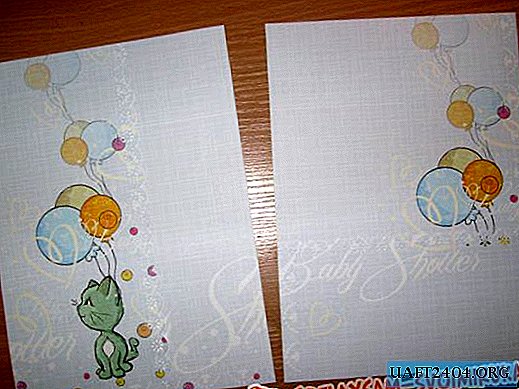
We cut out two rectangles of 18.5 * 25.5 cm from scrapbook paper.


We also need to cut two rectangles for pockets. Both of them are hole punch.


We smear the edges with glue stick and glue the pockets on the bookend covers. Sew both rectangles along the edge.

Now we cut out a rectangle of 11 * 14 cm from scrapbook paper, take a card, a napkin and a picture, and in this sequence we glue and sew on the cover.


On the edge we also flash the cover itself.


We punch holes at the back of the cover.


We insert and pull the elastic and install the eyelets.

It only remains for us to glue bookends inside the cover.


We dress metal corners, glue flags inside. The cover is ready. Thank you for your attention and good luck!


Share
Pin
Tweet
Send
Share
Send