Quadrocopters are very popular today, but they have one significant drawback - this is a high cost. However, if desired, a device similar in functionality can be made independently at home.
Some components for this homemade product will still have to be bought, but the "home" model of the mini quadrocopter will still turn out to be quite budgetary.
Manufacturing process
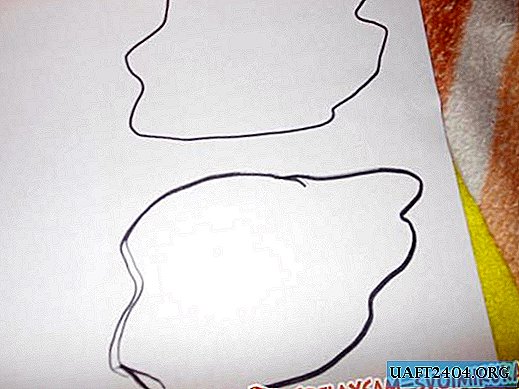
The body of the flying device can be made from an ordinary plastic cover from a spray can - just draw the contours of a mini quadrocopter with a marker, and then cut it with a stationery knife or a scalpel. The result should be a platform with legs.
Next, on the legs of the case you need to "plant" electric motors using hot melt adhesive. For greater reliability, you can also use a shrink tube. At the next stage, using the same hot-melt adhesive, we fix a microcircuit (control board) to the base of the case, and connect the contacts of electric motors to it.

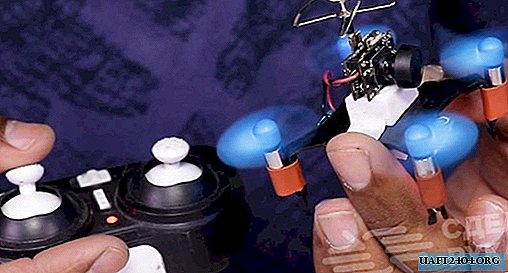
Next, we install plastic four-blade propellers on the motor shafts. To the top of the platform you need to glue a square blank of foam or other lightweight material - this will be the stand for the video camera.
The final touch, and you're done!

We cut off the standard connector from the FPV camera, connect the wires to the control board and attach the case to the foam "pillow". Then it remains only to attach the battery to the structure and connect it to the microcircuit, pick up the remote control and the mini quadrocopter is ready for testing.
For a detailed manufacturing process of this aircraft, see the video on our website.