Share
Pin
Tweet
Send
Share
Send
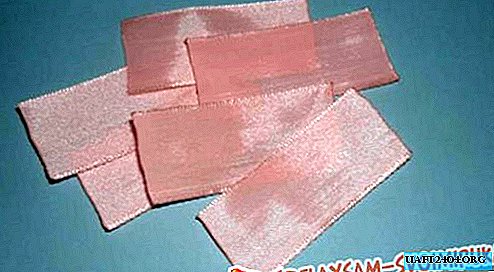
To make a mini-vase with your own hands you need to stock up on materials such as: a base for a vase (it can be a form from an old bottle or from a yogurt), three narrow satin ribbons, one ribbon 1 centimeter wide and 1 meter long, several beautiful and flat buttons, as well as glue.
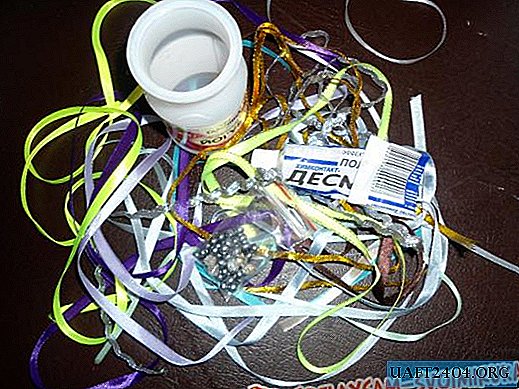
If your vase is based on a yogurt mold, then free it from various stickers, because the ribbons will stick poorly afterwards and subsequently stick.

We leave a centimeter or two from the bottom, and then draw glue on the vase at the level of two centimeters and glue the first narrow satin ribbon.

Next, even a centimeter or two higher (depending on how long your ribbons are), glue the second ribbon.

In the same way, we glue the third ribbon, but due to the fact that the neck of the vase begins to taper to the top, in order to hide all the flaws we need one more tape, but thicker. From the first half of this ribbon, we make a rose (any way to create this rose is suitable if only it turns out beautifully, because this is one of the main decorations of your miniature vase).

Now we take this tape with a ready-made rose and wind it, while gluing the tape to the base.
In principle, you can leave it that way, but you can add it to different places of the button.

You can take a lot of buttons and glue the whole vase, but it will not be right anymore, and also look a bit silly.
We paste the buttons in different places and at different distances.
And what a lovely vase we have!


Another plus of this little thing is that it can also be used as a cup for pens and pencils.

Whatever path you choose for your product, but be sure it will appeal to your friends as well, because such an exquisite little thing simply cannot be left without the necessary attention. It seems to be a miniature, but how chic can complement your interior!

Share
Pin
Tweet
Send
Share
Send


