Share
Pin
Tweet
Send
Share
Send
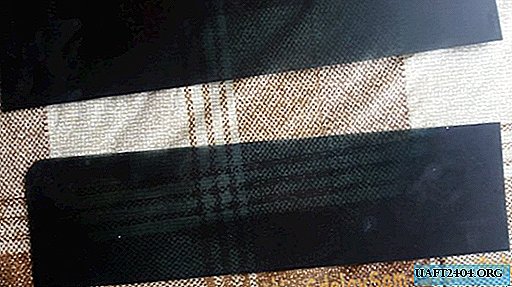
To prevent damage to the workpieces, you should use overlays, the manufacture of which uses soft metal (aluminum, brass, copper), polymers or wood. In addition to the safety of the fixed workpiece, they protect the jaws of the vice from damage by the processing tool (grinder, mill, chisel, etc.).
The pads can be attached to the jaws of the vise using round magnets mounted on the back in the corresponding recesses using suitable glue. Below we consider an option in which magnets are not embedded in the lining, but simply fixed on the surface of a vice.
Accessories for linings
Before starting work, stock up on affordable and inexpensive materials:
- block magnets - 2 pcs.;
- wooden blocks measuring 25 × 50 × 110 mm - 2 pcs.;
- a strip of sheet metal with a width of 50-60 mm and a thickness of not more than 2.0 mm;
- with screws with a diameter of 4-5 mm - 4 pcs.

You will also need simple universal tools used mainly in the household: metal scissors; grinding wheel; drill or drilling machine; vice is metalwork; hammer; screwdriver.
Making removable linings
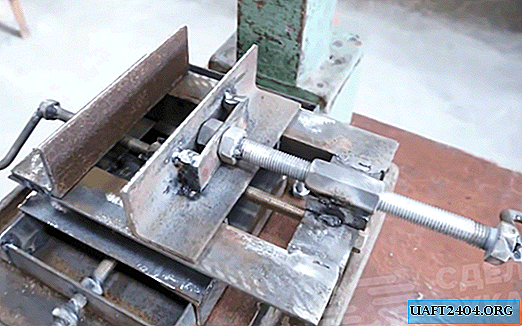
1. First, we will make the most important detail - a metal bracket, which is designed to fix the lining in the desired position. To do this, we clamp one of the ready-made linings in a vise in the position that is previously defined and outlined. We also act with a block magnet: we fix it on a vise in the place where it is most firmly fixed.
2. Then we take a sheet of paper and make a bracket template, applying it to the pad and magnet, and making the necessary folds.

Now you can mark and cut the paper, making sure that the template in all its parts is in contact with the surfaces formed by the pad and the magnet, and its edges are in the right place.
3. We cut the staple blank with scissors for metal from a pre-prepared strip of sheet metal, attaching a flattened paper template to it, with an allowance of 1-2 mm for subsequent processing.

4. Using a vice and a hammer, we give the workpiece the necessary bend, constantly checking the degree of deformation, by applying it to the plate and magnet, which are fixed on the vice in the calculated positions. In order not to get hurt on sharp edges and corners of brackets during the current work and later during operation, we smooth and grind them on an emery wheel.


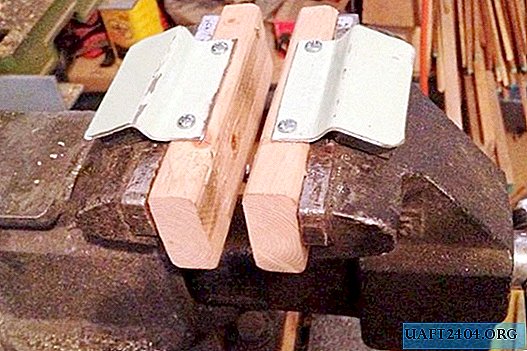
5. We fix each bracket to its pad, pre-drilled into them two holes for the screws, which we screw with a hand screwdriver or drill with the appropriate bit.

6. When soft pads are not needed, they can be easily removed from the vise and stored together with magnets, attached to a metal surface in a secluded place until the next use.

7. Our home-made linings will reliably protect the workpieces that we are going to clamp in a vice for marking or machining. Their fixation in the desired position is provided by powerful magnets. The linings are quick and easy to install, as well as dismantle. For their manufacture, almost no cost is required, except for the purchase of magnets worth more than 100 rubles.
Share
Pin
Tweet
Send
Share
Send