Share
Pin
Tweet
Send
Share
Send
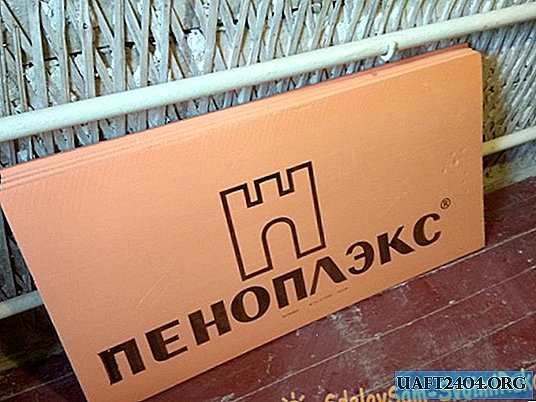
If you started a repair, and still have not decided which material to use for the floor, then this article will be useful to you. In it, we will consider an inexpensive, but at the same time having a lot of advantages way of warming the floor with foam plex. Recently, it is often used in construction, including in the manufacture of floors.
It is worth briefly mentioning this material. Unlike foam, it is more durable, has higher heat conductivity, vapor permeability, zero water absorption, and resistance to microorganisms. All these properties make this material suitable for floor insulation.
Thermal insulation of floors with penoplex
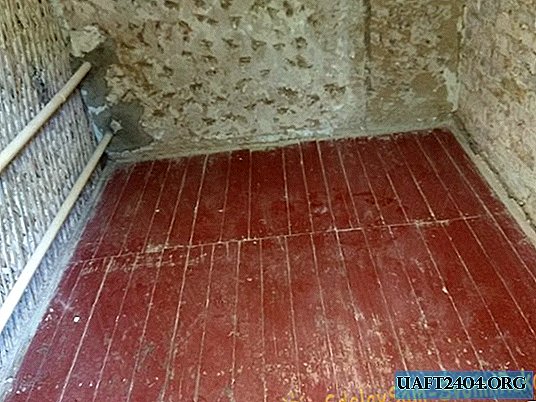
So, first you need to dismantle the old floors - linoleum, parquet, etc. In apartments, the base of the floor is screed and concrete, and in private houses it can be wooden boards. If both are in good condition, then you should not change anything. The illustration shows an example of a private house where the floors are wooden, but they were in good condition. In the event that the wood is rotten, then the floors must be removed and the screed must be poured with concrete. In apartments, everything will be much simpler. Most often, it is enough just to remove the damaged coating, after which you can begin to warm. If the floors are wooden, then you can additionally scroll them with screws to the lower beams, as over time the nails could weaken the mount. This is so that they do not creak.
Calculate how much material you need. Since sheets of foam plastic are different in size, calculate the square of the floor of the room, and already in the hardware store you can determine how many sheets are needed. The same is true for OSB boards.

Next, you need to select the highest point (corner) in the room, and from it start laying the floor. This can be determined by the construction or laser level. At the highest point, the foam layer should be minimal. At the corners of the wall and floor, it is necessary to pass with mounting foam for waterproofing. Next, the mounting foam is applied to the floor surface, after which a foamplex sheet is laid on it. Using the building level, it is necessary to level the sheet by tapping lightly on it with your hand. Before applying the foam, you can slightly dampen the floor with water so that the dust does not repel the foam. If the height of the ceilings allows, and you have the opportunity to raise the floors, then as a leveling of the surface of the floor you can use wooden battens 2-3 cm thick.


Thus, the subsequent sheets of penoplex are stacked. This material can be cut off with an ordinary construction knife. You will also need a tape measure to measure the dimensions that you need to cut. It is best to use a special gun for the foam, as this will be economical. If you use ordinary cylinders with foam, then opening it, you must use it immediately, otherwise it will harden. The gun can be used for several days.

After you lay the sheets of foam plastic, and the foam on which you put them, hardens, you need to fasten the foam glass to the lower wooden floor with self-tapping screws. It is better to use self-tapping screws. Before tightening the screw, drill holes with a drill. However, it is not necessary to fully tighten the screw. These screws must be tightened in level. All self-tapping screws must be twisted in a row with an indent of 20 - 30 cm. Subsequently, the OSB plate will lie on them.


When all the self-tapping screws are screwed on, the foam plex also needs to pass with foam, including around the self-tapping screws, and put a sheet of OSB on top. Thus, it rests on the caps of the screws and the foam, which, when hardened, will hold the plates.


After this, you need to wait a bit until the foam hardens, and then screw the screws back to the OSB plates to fasten them. The indentation when twisting the screws should be 20 - 30 cm. The OSB must be fixed with the waterproof side up.
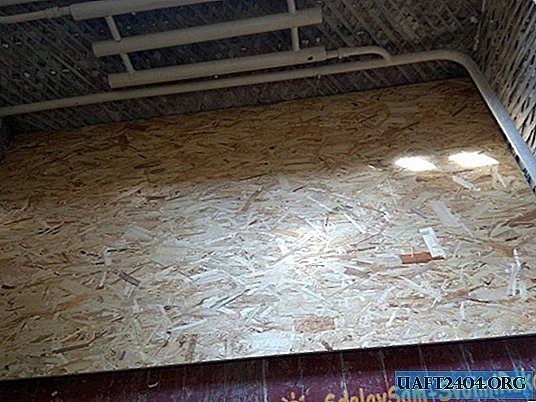


The advantages of this technology of laying and warming the floor is that it is not an expensive method. This is much cheaper than using concrete for pouring screeds. Also, laying of such a floor is carried out in a maximum of one day, if the room has the usual dimensions. If necessary, these floors are easy to dismantle.
Share
Pin
Tweet
Send
Share
Send


