Share
Pin
Tweet
Send
Share
Send
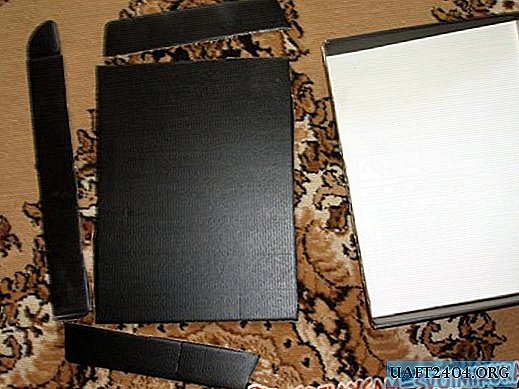

A circle of cardboard is ready. We put it on red (blue) corrugated paper. Cut out a circle from colored paper a little more than a cardboard circle.

We bend the edges of the colored paper and glue it to the main cardboard circle with hot glue.

You will also need a cardboard tube - a tube from under a paper towel is suitable. The edge of the tube is cut with scissors, the resulting "herringbone" is bent outward for gluing with the base.

We glue the tube to the base of the cake and select the color paper for pasting the inside of the base and the tube itself.

After pasting the base, we select the braid to decorate the edge of the circle and finish pasting the tube. At this stage, you should decide on decorating the cake with toys and various decorative elements.


With a piece of foam wrapped in corrugated paper, close the hollow edge of the tube.

The first decoration - a bright red rose took its rightful place.

Carefully place a pack of diapers (27 pcs.) Around the tube on the base of the cake. We attach diapers around the tube with rubber bands.


For greater strength in the circle of diapers, we attach a net and tie it with a plastic braid, the ends of which we tie to a bow and twist with scissors.


Diapers are firmly fixed. We proceed to decorate the second tier of the cake. Everything that is at hand is used, including the net. From it we make a semblance of packaging for a bouquet - we fasten the edges of the grid with a step-plaster, and tuck them like a shawl. Toys are placed around the tube and a package is put on top, which at the same time becomes a fixture for the toys to the cake tube.

In addition, we decorate the third tier of the cake with six red roses. The seventh central rose is separated from the bottom six by a white packing net. Rosettes are attached to the tube using hot glue.


Cake as a gift is ready. Such a miracle will be pleasant to get the baby's mother, and in addition, the diapers arrived just in time !!!


Share
Pin
Tweet
Send
Share
Send

