Share
Pin
Tweet
Send
Share
Send
- fabric (plush),
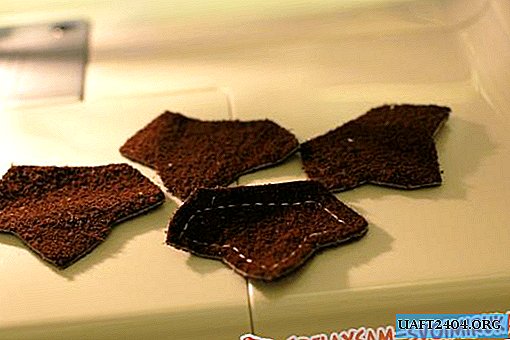
- suede (for "eyes", "beak" and "paws"),
- paper for sketch,
- pencil
- scissors
- thick paper (for "eyes"),
- sewing machine,
- needle and kapron thread,
- cotton wool
- iron
- a thread of white, orange and brown colors,
- denim (to create a "headdress"),
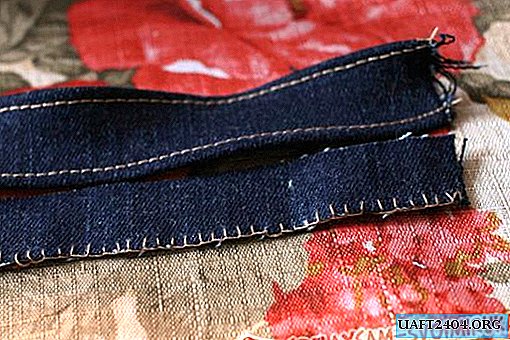
- beads (for "eyes").
Creative process
1. Pick up the fabric.
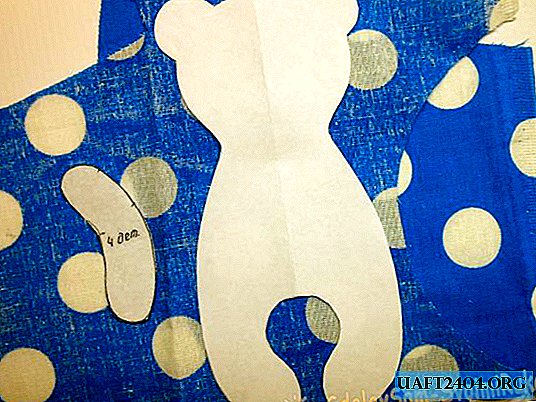
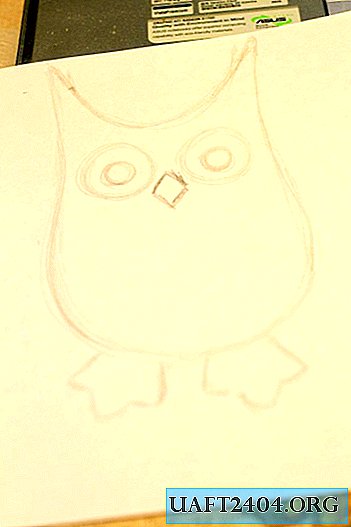
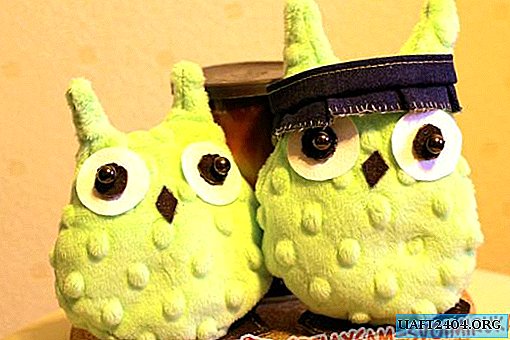
2. Make a sketch of the toys. In this case, one of the “owls” is slightly smaller than the other.
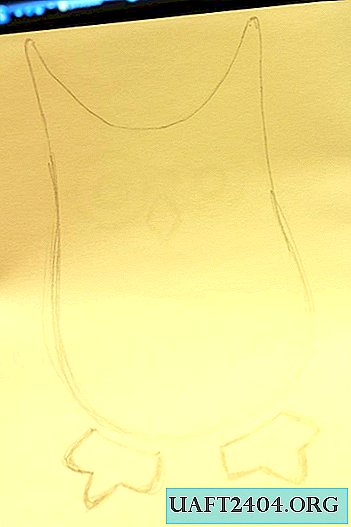
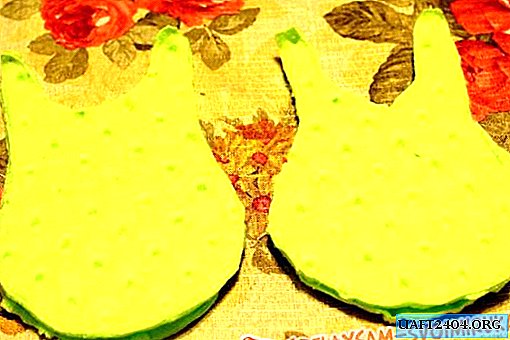
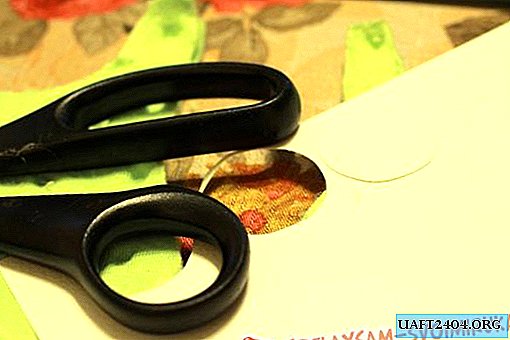
3. Cut the elements to fit the sketch. First make blanks for the "calf".
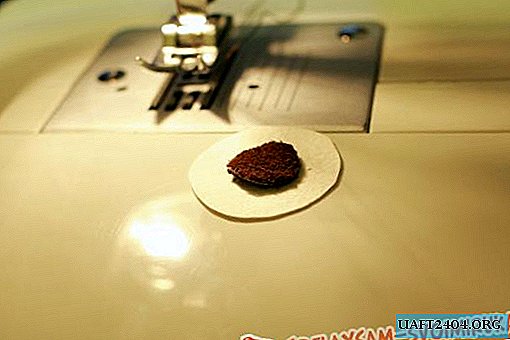
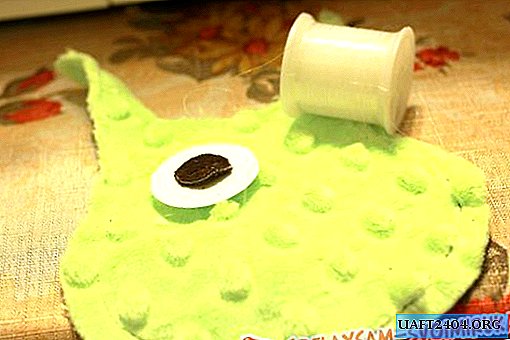
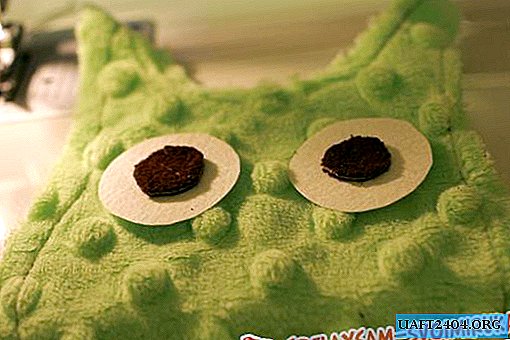
4. Prepare the "eyes." From thick paper, cut 4 circles.
5. Attach the circles to the front of the future toy. Place smaller suede mugs on top of the paper parts.
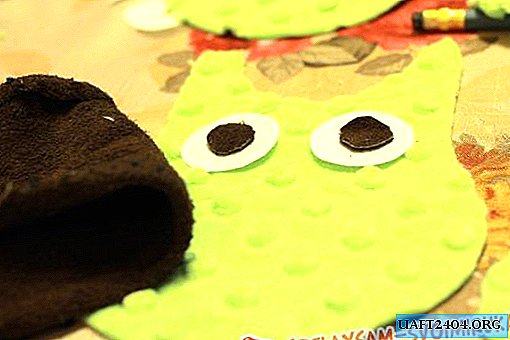
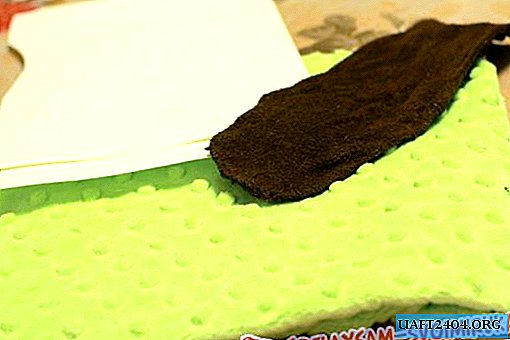
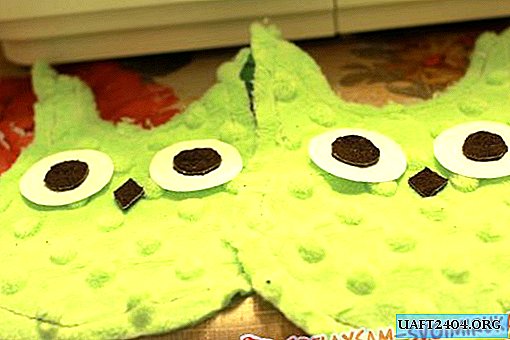
6. Cut the “beaks” and place them on the front of the product.
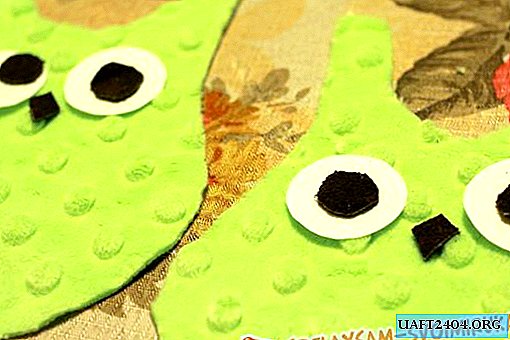
7. Prepare the “paws” for the pattern. Cut 4 fragments.
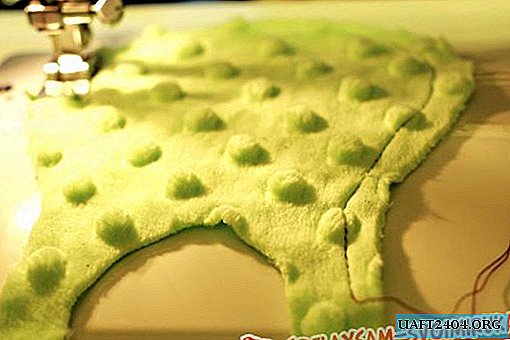
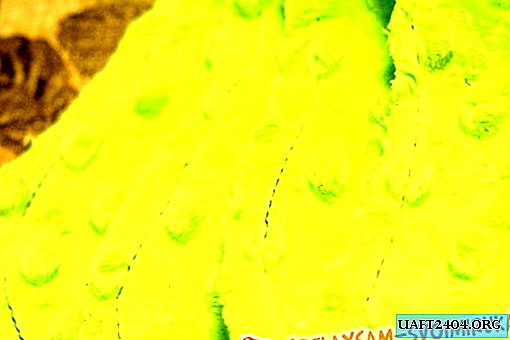
8. On the sewing machine, sew the outline of the products with a thread of contrasting color.
9. Before stitching the “eyes”, sew the contours of the “body” of all 4 fragments.
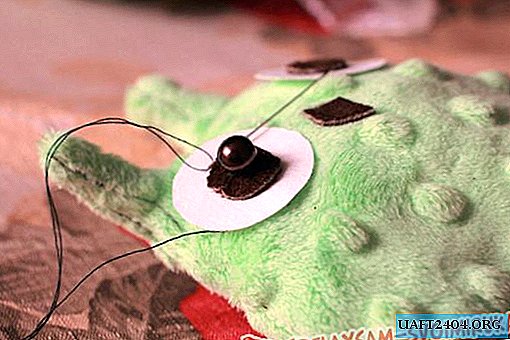
10. Sew on a typewriter a paper circle and a suede circle. In this case, a kapron thread was used.
11. Sew eye blanks to the front of the toy.
12. Wash the beads on top of the blanks.
13. Sew the beaks.
14. Sew the “paws”. To do this, fold the toy parts with the sides inward. Attach the paws to the side where the eyes are located so that the seamy side of the paws looks at you.

15. Sew and twist the items. Bottlenecks are easier to turn with a pencil.
16. Fill each of the toys with cotton.

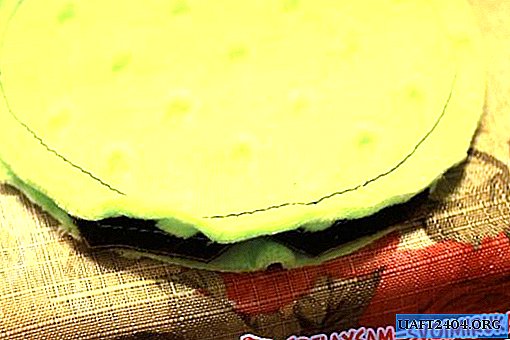
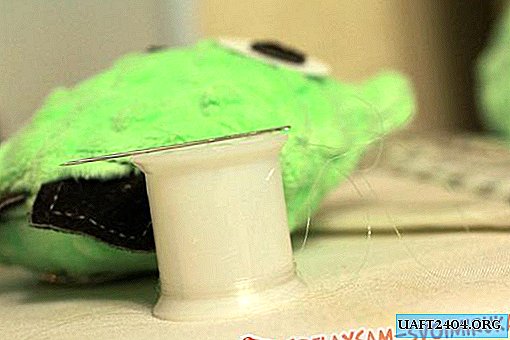
17. Sew the product to the end with nylon thread.
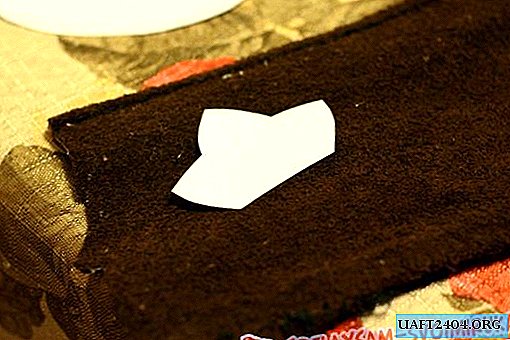
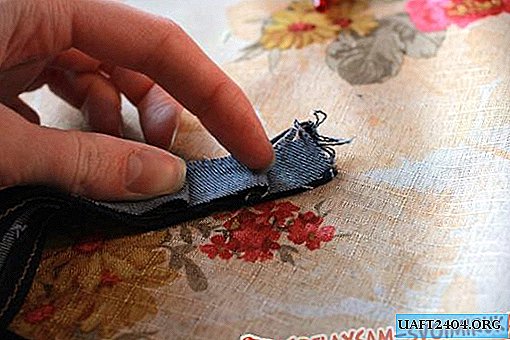
18. Make an unusual “headdress” for one of the “owls”. Cut a denim rectangle.
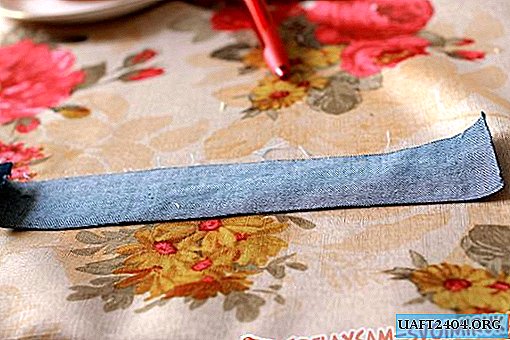
19. Iron the edges of the fabric and sew each of the bends. You should get two parallel lines.
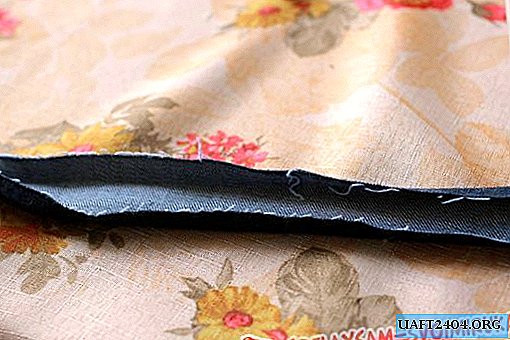
20. Cut another piece of fabric, but longer than the previous one. Sew the edge by hand.

21. Sew two pieces.
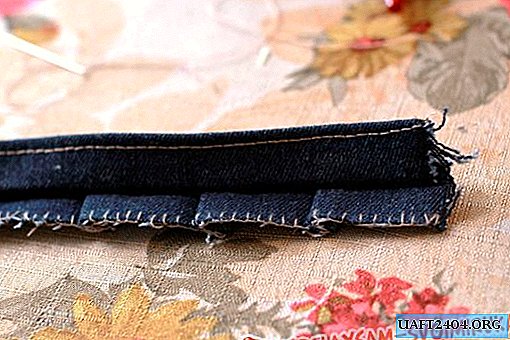
22. “Headgear” sew directly to the toy.
Share
Pin
Tweet
Send
Share
Send