Share
Pin
Tweet
Send
Share
Send
We will need:
- newspapers;
- thin culinary skewer or knitting needle;
- PVA glue;
- a pot (as a basis for your weaving);
- thick cardboard for the bottom;
- scissors or clerical knife;
- clothes pegs;
- acrylic paints or gouache and brush;
- Alkyd varnish and brush.
Getting started with the creative process:
1. The first task is to prepare shelves of paper for future tubes. Expand the newspaper and cut it into strips of 10-12 cm.
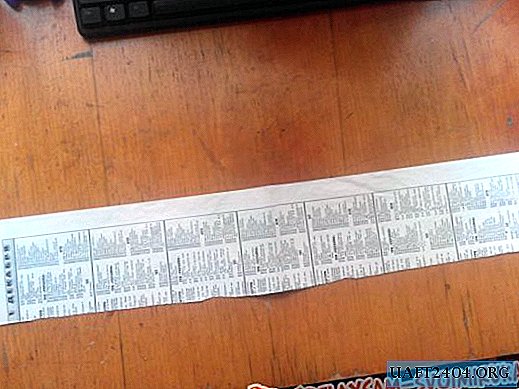
You will need a lot of tubes (for such a pot, as in the photo, it took about 80-90 tubes), so prepare in advance a large number of strips of paper.
2. We begin to make tubes. Lay one piece of newspaper in front of you, and a thin needle or skewer on its corner. The newspaper and the skewer should form an acute angle, as shown in the photo.

And then begin to gradually spin the newspaper into a tube, firmly pressing it to the table so that it turns out to be thin and dense.


When there remains a small corner of the paper, grease with glue and glue it to the tube.

The tube is ready, it remains only to carefully pull the skewer (or spoke) out of it.

3. We take a dense cardboard and cut out from it the bottom of the future pot. With a knife or scissors, puncture holes near the edge. The holes should be placed at the same distance from each other.

4. Insert the tubes into the holes in the cardboard and bend out a 3-4 cm section.


5. When the tubes are inserted into all the holes in the bottom, take another tube and bend it exactly in half. Raising the bent and attached to the bottom of the tube, we braid them with a figure eight.

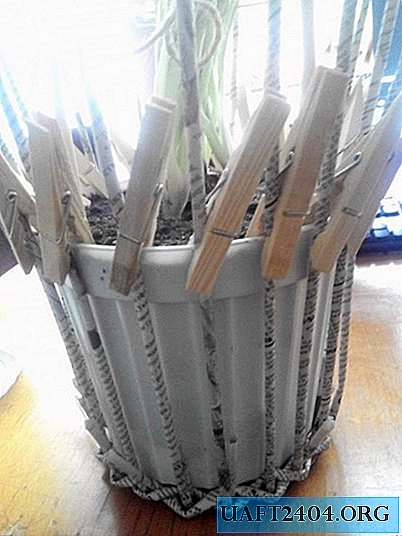
We connect the outer and inner part of the vertical tubes. When the entire first row is braided in this way, you need to take the pot and put it in the center of the formed circle of tubes. The pot will fulfill the task of the basis for weaving, will help to weave it evenly and accurately. For convenience, vertical tubes are fixed with clothespins to the walls of the pot.

6. The second row weave on the same principle as the first.

When the straw you are weaving ends, you need to take a new straw and insert it into the one that ends. At each tube, one end is always slightly thinner than the other. So you can easily connect the two tubes, inserting the thin side into the thick one, and continue to work. In the process of weaving clothespins can be removed, since the tubes will already be tightly fixed to each other.

7. When the wicker pot reaches the required height, the mold can be removed. Horizontal tubes must be cut and hidden in weaving, securing them with glue.

8. Now you need to give completeness to the upper part of the pot. To do this, take one vertical stick and, wrapping the back of the next, lower it down.

Continue this operation with all the tubes.


9. Insert the tube into the hole in front, that is, into the hole that formed before the next stick. Repeat the action until all the tubes are directed inside the product.

10. Cut the ends of the tubes, they should be no more than 2-3 cm. Glue the tip of the tube to the inside of the pot and fix it with a clothespin. Fix that all the ducts.

11. The product will completely dry after a couple of hours.


12. You can start staining.


13. If you use this pot as a decor for indoor flowers, and plan to water this flower, we recommend that you cover the finished product with alkyd varnish.
14. After drying, insert your favorite flower in a plastic pot into a wicker pot! Everything is ready!
Share
Pin
Tweet
Send
Share
Send