Share
Pin
Tweet
Send
Share
Send
And so, if you have some time, and most importantly have a desire and a perfectly developed imagination, then you have come to the right place! We suggest you make a tree for earrings, which you can keep if you are a girl, well, and if you are a guy, you can please your girlfriend.
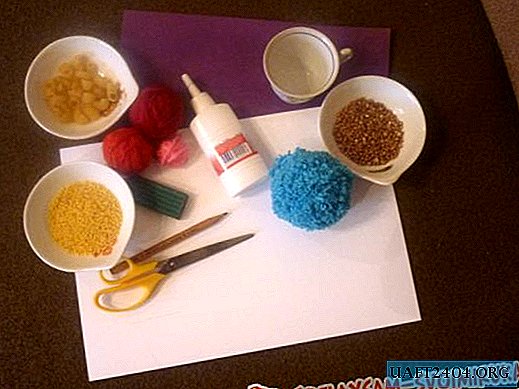
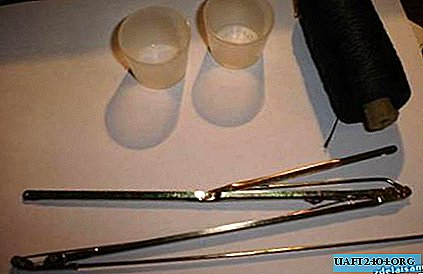
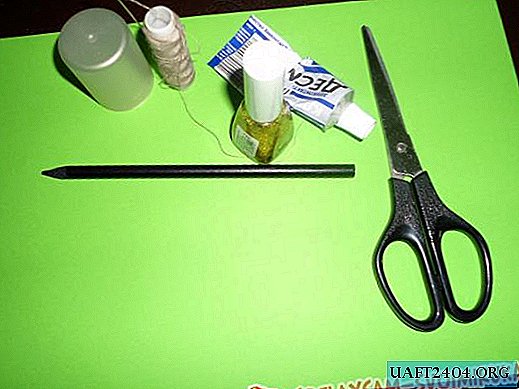
And now it's time to start and see what we have in stock of the necessary materials, because we will really come in handy such as: a gypsy needle or awl, A4 colored cardboard, glue, varnish, a cup of hair foam (or any other closure , which can become the basis for wood), nail polish and scissors.
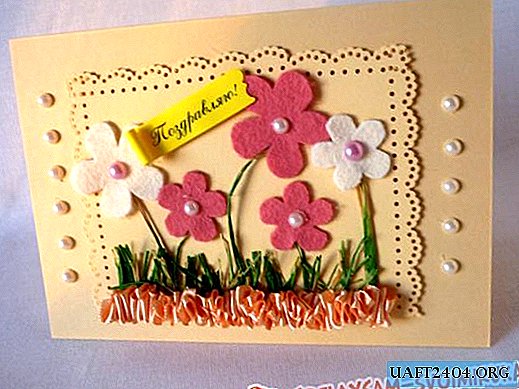
First of all, we arrange the sheet into four parts and draw a tree. You can draw the same as in the photo below, or you can use the gifts of your mind and imagination and draw something abruptly.

Next - we cut out our marvelous and necessarily extraordinary creation - a tree for earrings.

Dachshund, what we see is four carved trees that are still not quite in front of us, such a designer that needs to be folded correctly and beautifully.
I used two designs, but if you like a more branchy tree, you can add two more.
In any case, whether you choose two structures or decide, like me, on two, then we immediately cut one structure and leave the second safe and sound. Then, on the sides of the whole structure of the tree, we build glue and attach one half of the second structure on one side, and then the second half on the other side. We check how firmly the halves are held and paint, so to speak, the barrel with shiny varnish.

We insert your tree into the base, that is, into the cap with under the foam for hair or in what you found there. If your tree has the tendency to fall at the wrong moment - carefully place sea pebbles on the bottom. If such pebbles are not available in your house, you can fill the bottom with beads with glue or other loose mixture.

Do not forget to pierce holes for earrings and your tree is ready for use.


Share
Pin
Tweet
Send
Share
Send